How to Make a Child's Cloak
This post was supposed to have been published years ago, but I never got around to putting it together. For the sake of my sister, I'm doing it now. It's fall, and fall is the perfect time for a cloak. Unlike cardigans which are more of a spring thing, cloaks seem particularly fitting to fall, mainly because, unlike cardigans, cloaks communicate mystery. And mystery is precisely the sort of ambience you want for Halloween!
These directions are for a sort of cloak poncho, the simplest kind to make and wonderful for children.
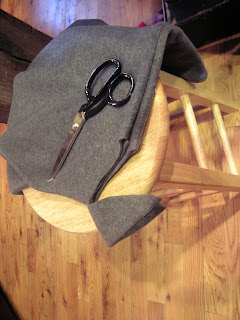
The first step is to buy the right amount of fleece in the color you want. Our family uses either gray or red, for obvious literary reasons.
Take the child you'll be making the cloak for and (you can do this in the store) measure the amount of fabric you'll need to buy to cover them from the part of the legs where you want the bottom of the cloak to fall (knees, calves, etc.) up to their shoulders, and double it. If you want the cloak floor length, measure to the floor. If you are planning on hemming the cloak (not necessary with fleece, btw, but it does add a finished look), add about two inches extra (one for each side).
When you get home, fold the cloak material in half, selvages together.
Have the child lie down on the fabric and extend their arms so that their arms and shoulders are along the fold of the cloth.
Then using pins mark a curve that runs from their wrists to the bottom center of the cloak.
Cut one side of the cloak's curve, then fold it in half and use that curve as a pattern to cut the opposing side. Nice hack I learned from a professional.
Next, cut the hole for the child's head. **The fleece will stretch,** so this hole does NOT have to be big. Keeping the cloak folded, cut a small hole the width of half the size of your child's face and about 2"-3" deep (about as deep as from their nose to their chin).
Cut the hole and check to see if your child can pull it easily over their head. If not, refold and cut a tiny bit more. Remember, it's easier to take the cloth off than to put it back on! If you have accidentally made it too large, you can sew in from the shoulders to compensate. (Been there, done that!)
If you want the front of the cloak to be open (this will make it less warm, FYI), then fold it in half and cut the front fold.
Save the pieces you cut off: they will be the hood of the cloak. Here's where there is sewing involved. You can sew by hand: it's just a bit of finegaling, one way or another!
Take one of the four leftover pieces and decide which one to use as a hood. The key element is that is has a long side which can completely wrap around your child's face, the ends meeting at the chin. The grain of the fabric doesn't really matter with fleece in this regard.
Fold this triangle in half after trimming it a bit to make it symmetrical, and sew from the point to the length of the back of your child's head. Leave some "flaps" at the end: don't sew up the entire triangle.
It's useful for this bit if the child stays next to the sewing machine because while the sewing is minimal, continual fitting is key. Have the child put on the cloak, and pin the hood on the cloak. (FYI In the version in the photo, I put a lining on the hood for extra warmth.)


Comments